As soon as you walk into your local bike shop, you’ll quickly realize just how expensive of a sport mountain biking is. From the $5,000+ bikes to the $200 shorts, it can cost you a fortune to look like your favorite pro racer. All of these carbon fiber and titanium dollar signs can be enough to scare you away before you ever get started.
Take it from me, though. Mountain biking doesn’t have to be an expensive hobby. Mountain biking has blown up in popularity during the last few years, and just like any other industry, the companies involved are fighting for your hard earned dollar. We’re constantly being bombarded with bright colored accessories and fancy new technology. Some of us would rather keep mountain biking simple though. The truth is, you don’t need most of that stuff in order to get started. Today I’m going to share the cheapest way to start mountain biking.
In the earlier days of mountain biking, we didn’t have a whole lot of options to choose from. I’m grateful for all of the companies that are constantly improving on things and coming up with new designs. There’s so much cool stuff available out there. Some people have plenty of money to spend and have a riot buying all of the latest and greatest items.
Others would rather stick with the basics of mountain biking. Go back to a simpler time that the industry would rather you forget. Maybe you want to dip your toes in the water and give mountain biking a try before committing to a bigger purchase. Or maybe your bank account is running a little light. If you can’t justify spending thousands of dollars, fear not! There are cheaper ways to get started with mountain biking.
What are the basics of mountain biking?
Technically, you need 2 things: a bike and mountain. That’s mountain biking in its most primitive state. Although this site is geared toward keeping mountain biking simple, I don’t recommend that you grab any bicycle and hit the hardest trails you can find. Safety is an important thing to keep in mind. With that being said, the cheapest way to start mountain biking consists of buying 3 bike specific items, as well as repurposing 5 other optional things that will improve your mountain biking experience.
Mountain bike specific items:
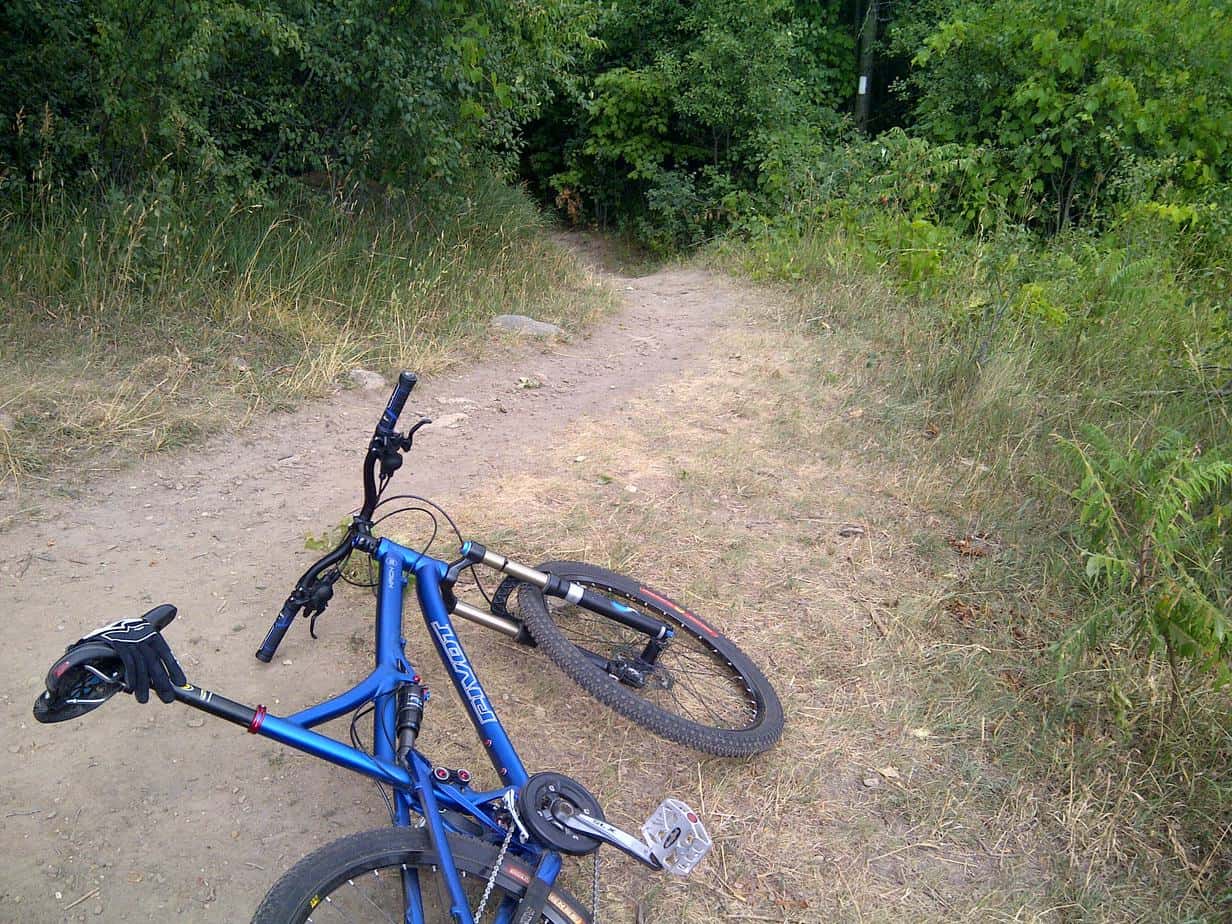
1. A Mountain Bike
This one is obvious. You don’t want to hop on the rusty old road bike that’s been sitting in your garage for who knows how long and hit a difficult trail. That’s a great way to get injured or at least have a bad time. On the other hand, you don’t need to go out and buy a brand new, high-end mountain bike either.
You’ll need a bike that has a sturdy frame, knobby tires, and strong brakes. Most people will prefer some type of suspension as well, but that isn’t 100% necessary. Your bike also needs to fit you properly. Too small and you can end up with a lot of back pain. Too large and you’ll have trouble putting your feet on the ground.
It’s up to you and your budget to decide whether to buy a brand new mountain bike or a used one. Many bike manufacturers offer entry level bikes at a low price aimed at people who are just starting out. They’ll spec the bike in such a way that your money is spent on the parts that you need most, and saved in other less important areas. These bikes usually come with warranties and if you purchase them from your local bike shop, they might even include things like bike setup/fitment and a few tune-ups for free.
The other option is to buy a used mountain bike. Mountain bikes are one of the few things that depreciate as fast or faster than cars and technology. That’s awesome if you’re looking to score a deal on a slightly used bike. Of course, you’ll need to make sure it’s in good condition. As long as you’ve checked it out properly, used bikes are absolutely safe to buy.
Keep in mind, used bikes don’t have warranties meaning any future repair will be coming out of your pocket. But if you’re able to find the right bike, the savings can be huge! Keep an eye on your local classified sites as well as bike specific sites like Pinkbike.com to find a great deal.
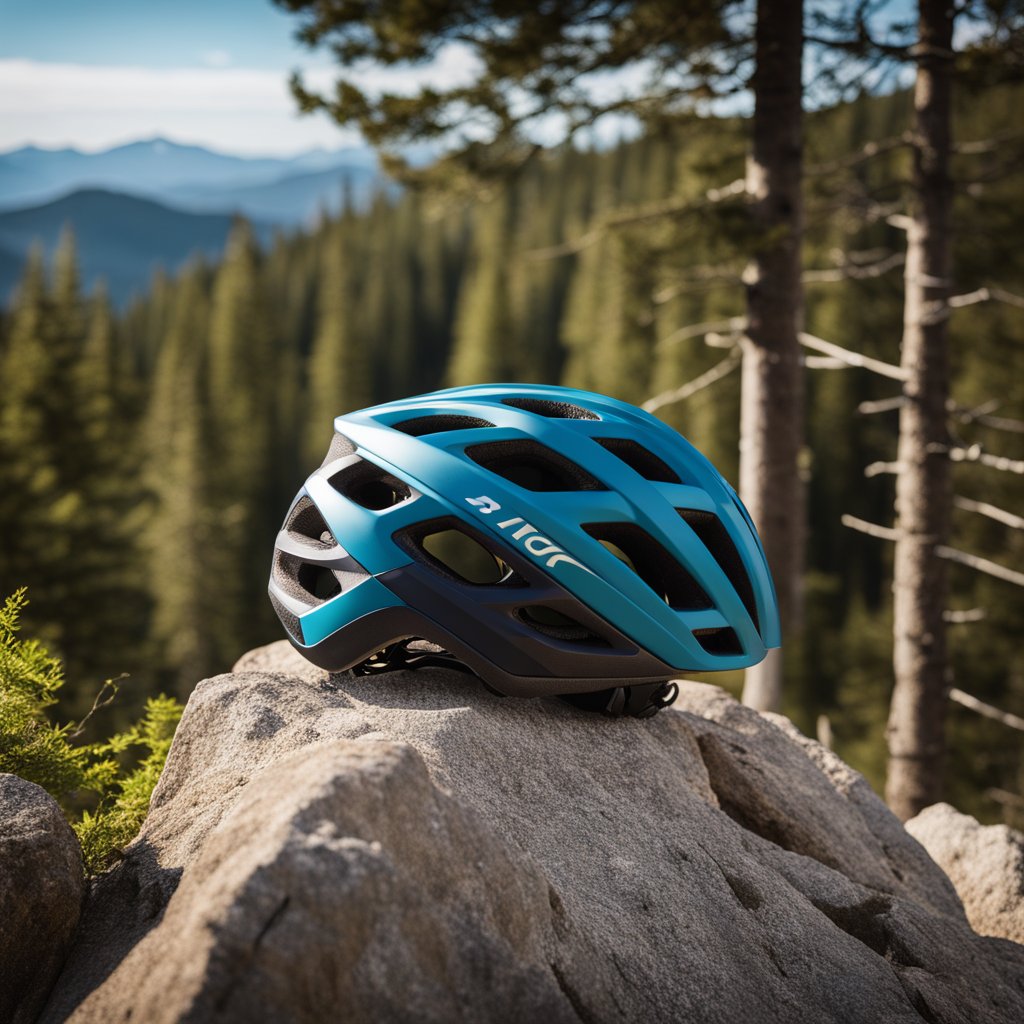
2. A Helmet
I’m all for saving money when it comes to mountain biking. One thing I’m not willing to cut corners on is safety. The good news is that you don’t need a set of goalie pads, a fire suit, and a parachute. You just need a helmet. I can’t stress how important it is to protect your lid.
Even the best riders in the world go down every once in a while. Gravity doesn’t care how confident you are on your bike. Parts break. Trail conditions change. We all have bad days. And since we spend most of our time in the forest surrounded by rocks, trees, and roots, there’s a much higher chance of hitting your head on something hard.
There are plenty of inexpensive helmets available from reputable companies. You don’t need to shell out for the newest model. I don’t recommend buying a used one though. Most manufacturers recommend replacing your helmet every 5 years or immediately after a crash. There’s no way to be completely sure of a used helmet’s history, so brand new is the way to go. If you only invest in one thing aside from your bike, make sure it’s a helmet.
3. Hydration
You might not realize how important water is until you’ve traveled deep into the forest for a few hours. By then, it’s too late. As with any other form of exercise, hydration is key. It’s better to have too much and dump it out in the parking lot after a ride than not have enough. Mountain biking is an intense sport – your heart will be racing, and you’ll be out of breath. Your body needs water. Being dehydrated alone out in the wilderness can be very, very dangerous.
Many mountain bikers choose to use a hydration pack on their back. These do cost a bit of money, but they’re really useful. Most hydration packs include a bladder that holds plenty of water with a long tube that allows you to drink while you ride. They also offer pockets for storage which is a big deal. This allows you to bring tools, snacks, and even your keys/wallet/phone if you don’t want to lock them up in your car.
If a hydration pack isn’t in the budget, that’s ok. A cheap water bottle with a cage mounted on your bike’s frame will do the trick. It won’t hold as much water or offer any storage, but it will keep you alive.
Optional items:
None of these are necessities, but will definitely improve your mountain biking experience. If money is no object, feel free to hit your local bike store and buy the mountain biking oriented version of all of these. If you’d rather not spend the money, there’s a good chance that you already own most of these items. They might not be the most ideal things to use, but this is the cheapest way to start mountain biking after all.
1. Gloves
It’s fine to ride bare handed and as a matter of fact, some people prefer it. I recommend wearing gloves for mountain biking though for a few reasons. First, they offer better grip on the handlebar. Remember, this isn’t road cycling where our hands are only used to prop us up into position. You’ll be hanging on for dear life at times as well as grinding away on hill climbs.
Due to the slower average speeds seen in mountain biking, you’ll find that you sweat more because you have less wind cooling you down. Sweaty hands can make gripping the handlebar difficult.
Even with gloves, your hands will get beat up with calluses after a few rides. Riding without gloves just makes it worse. Some people don’t mind having rough hands while others do. That’s a personal preference thing in the end.
Gloves from a mountain biking company are designed to do all of these things well while being comfortable and somewhat cool to wear. They aren’t terribly expensive, but if you’d like to avoid this cost, a set of mechanic’s gloves will work fine. They’ll be hotter to wear but if you already have some laying around, they’ll work for your first few rides.
2. Shoes
The shoes you wear for mountain biking will depend on the type of pedals your bike has. Most beginner bikes will have flat pedals which is what I would highly recommend you start with. More advanced riders might use clipless pedals, which attach to the bottom of a cycling shoe with a cleat. These can make it difficult for beginners to get their feet free when they stop and will often cause a crash.
Since you’ll be sticking with regular flat pedals at first, that opens up a wide range of shoe choices. There are companies that sell shoes that are specifically designed to work with mountain bike pedals but they’ll usually cost upward of $100.
A typical skateboard style shoe will work fine for mountain biking. You’ll want something with a flat, firm sole that will grip your pedals. Hiking and cross training shoes have large tread blocks on them which offer very little contact on your pedals. Chuck Taylor style shoes have nice flat soles, but are very flimsy and might cause your feet to cramp over time. In general, most skateboard shoes have the right combination to get you out on the trail.
3. Glasses
Sunglasses are another thing that isn’t required for mountain biking, but I’d highly recommend. Once again, because you’re zipping through the forest, you run the high risk of getting smacked in the eye by a branch. I can’t count how many times it’s happened to me. Had I not been wearing glasses, I could have suffered a significant eye injury.
The only thing you’ll need to look for in a pair of sunglasses for mountain biking is something that covers your eye (or even wraps around) and something that fits you comfortably when you’re wearing a helmet. The design of some glasses might be fine on their own but will interfere with your helmet or helmet strap in a weird way. You can also use clear safety glasses if the sun doesn’t bother you, or you’ll be riding in darker conditions.
4. Clothes
Being cool and comfortable is the key when it comes to mountain bike clothing. You can spend hundreds of dollars on a bike specific wardrobe, but you don’t need to. Will they do a better job? Yes. Mountain bike jerseys often have 3/4 length sleeves that are the perfect length when you’re reaching your handlebar. Also, cycling shorts will sometimes include padding in the rear which makes long rides much more comfortable.
Regular activewear will work ok for mountain biking though. You’ll want a pair of shorts that are flexible enough to allow your legs to spin on the pedals comfortably. Any type of moisture wicking shirt will help you to stay cool as well. You might not look as hardcore on the trail, but it can be the difference between spending $40 on riding gear or $250.
5. Tools
Any time you’re heading off on a big bike ride (especially if you’re alone) you’ll want to consider how far away from civilization you’ll be going. One of my favorite local trail systems boasts many kilometers of winding single track – but you’re never too far away from the parking lot. In that case, doing the walk of shame with a flat tire is humiliating, but not the end of the world.
More adventurous riding requires you to go prepared for the worst. A simple toolkit can be a huge help when it comes to making trailside fixes. Many of the things that can go wrong on a mountain bike aren’t exactly catastrophic. If you don’t have any tools, they can ruin your ride though.
Planning ahead and bringing a few allen keys that fit the bolts on your bike, a spare tube, and a hand pump is a great idea. If you’re using a hydration pack, that will give you the perfect storage for these items. Throw a few zip ties and some duct tape in for good measure.
Conclusion
Mountain biking is a fantastic sport. Many of my fondest memories were made aboard a mountain bike. It combines high-speed excitement with a great workout and the ability to find some incredible scenery. Getting lost in the forest with just you and your bike is a really freeing experience. Thankfully, you don’t need to spend thousands of dollars to get started. Grab these basics and get out there!
Tim is the founder of SimpleMTB and has been mountain biking for decades. He raced in the Ontario Cup series during his teenage years and riding continues to be one of his favorite hobbies now as an adult.


Leave a Reply