I stopped by one of our local bike shops the other day to pick up some tire tubes. As I waited in line, I noticed the sign that showed their service pricing. I was surprised to see that they charge $75 for the most basic tune-up package. Knowing how quick and easy a job like that is, I figured I’d share my routine with you so that you can avoid that expense too.
Is a bike tune-up worth it?
Doing a tune-up on your bike is never a bad idea. The more you stay on top of things, the less chance there is of having a major failure on the trail. The only downsides to a tune-up are the cost or the time spent. Both are worth it to keep your bike performing well.
How to know when to give your bike a tune-up
You might be wondering how often you should be giving your bike some attention. Should it be a scheduled thing or only happen when it feels like it needs work? In the end, the choice is yours.
It’s good to know that there’s no such thing as taking too much care of your bike. As long as you have the time, you can feel free to give it a quick once-over after every ride like a crazy person! The more attention you pay to it, the less chance you have of missing a real problem developing.
That can make the difference between finding a loose bolt early and having a whole component fall off your bike (possibly resulting in a crash).
For people with less time to spend on tinkering, a good goal to aim for is to tune up your bike once a month. Of course, this will vary based on how often you use it. If you ride it to and from work every day, plus multiple trail rides throughout the week, you’ll probably want to shorten that interval. On the other hand, if you’re only riding a handful of times per month, you can stretch it out as you see fit.
For many of us, working on our bikes is almost as much fun as riding them. It can really therapeutic to head out to the garage, slow things down, and get your mind off of everyday life. Mountain bikes in general aren’t cheap. Taking care of your investment is a good feeling and it’ll often get you excited for your next ride.
Before you get started, it’s worth noting that many of these tasks are much easier if you have a work stand for your bike. A stand might cost you $100 or more, but keep in mind the price of having a shop do your tune-up. Your stand will pay for itself after a couple of times and it’ll make your life so much easier.
Check out this article for a list of tools that will come in handy when working on your bike.
So what are the steps to a simple DIY mountain bike tune-up?
Ride it around the block
It sounds weird, but the first step to tuning your bike is actually to ride it! Either take it for a lap through your neighborhood or pay close attention during your most recent trail ride. This will give you a better idea of where you should focus your attention.
Is it making any strange noises? Does anything feel loose? Are the brakes and gears working the same way they did when it was new? Have you had any crashes lately? Does it feel sluggish or twitchy?
All of these things can be symptoms of common mountain bike problems. Many of these can be fixed with some simple adjustments during your tune-up. While it’s true that you can notice a lot of things while working on your bike, there are times when a problem or misadjustment only shows up while the bike is being ridden.
The weight of a rider can change the way things perform. Sag in the suspension is a big one – it can potentially create slack in cables that can change adjustments. There are also situations where something will only rub or rattle while a bike is being ridden. A quick ride can be a great way to start your tune-up.
Clean your bike
Yes, this is another step you’ll do before ever reaching for a wrench or screwdriver. Before you work on your bike, it’s always a good idea to clean it. Depending on its condition, this might just require a 5 minute wipe down. If it’s been neglected though, you might want to take the time to do a thorough, detailed job.
There are 2 reasons to clean your bike before giving it a tune-up:
- A clean bike is a happy bike. If the goal of tuning your bike is to make it feel like new again, it’s nice to make it look new too.
- Removing the layers of dirt and mud will make it easier to inspect for damage
How you clean your bike will depend on whether or not you want to get it wet. Some people cringe at the thought of pointing a hose at their bike and there is a legitimate cause for concern there.
While most of the bearings on your bike are well sealed, they aren’t necessarily meant to withstand having pressurized water sprayed on them for extended periods of time. Doing so can degrease the bearings and eventually lead to a crunchy ride.
Some brake pads don’t like to get wet and they just aren’t the same afterward. They’ll squeal and be quicker to glaze over – that might require resurfacing them or even replacing them.
If these things worry you, feel free to stick with wiping down your bike with a towel and some sort of degreaser or detailer. The important thing is that you remove the bulk of any dirt and grime that might be covering up your bike.
Personally, I don’t mind getting my bike wet but within reason. I’ll usually remove the brake pads to avoid any problems with them, and keep the hose nozzle on a “shower” setting. I also try not to aim for any bearings or greasy parts in order to keep them happy.
If the idea of leaving standing water in the tight corners of your bike concerns you, here’s a cool tip: when you’re done rinsing off your bike, hit it with your leaf blower to blow any remaining water out of all the nooks and crannies. This will keep the heads of your bolts from turning rusty and water spots from developing on your paint.
Inspection
Now that you have all the mud washed off the bike, it’s time to inspect it for any damage. Take a close look at the frame, especially around the welds and suspension mounts for any cracks. A cracked frame can quickly turn into a snapped frame with just one more impact. Finding any damage early on can prevent a trip to the hospital or dentist.
You’ll also want to inspect any wear items to see how much life they have left in them. Tires and handlebar grips are probably the most likely things to get noticeably worn out on a bike. Keep an eye on them and if the tread or grip has been visibly worn down, replace them.
Another good thing to inspect at this point is your suspension. Check for any excess oil around the seals as well as any cracks. A tiny bit of oil seeping past the seals isn’t the end of the world but any more than that could indicate that it’s time for a rebuild. Your suspension is under a lot of stress at times so it’s definitely something to pay attention to.
Check the bearings
Technically, the bearings on your bike can be considered a wear item too. While it’s possible for them to actually wear out, most of the time it’s an adjustment issue.
Start from the front of the bike and work your way back. This is a common theme when working on other parts of the bike as well. I was taught this while working at a bike shop as a teenager – it makes it easier to remember what you’ve worked on without missing or forgetting something.
There are 2 things to check when inspecting bearings:
- Any excessive play
- Lubrication
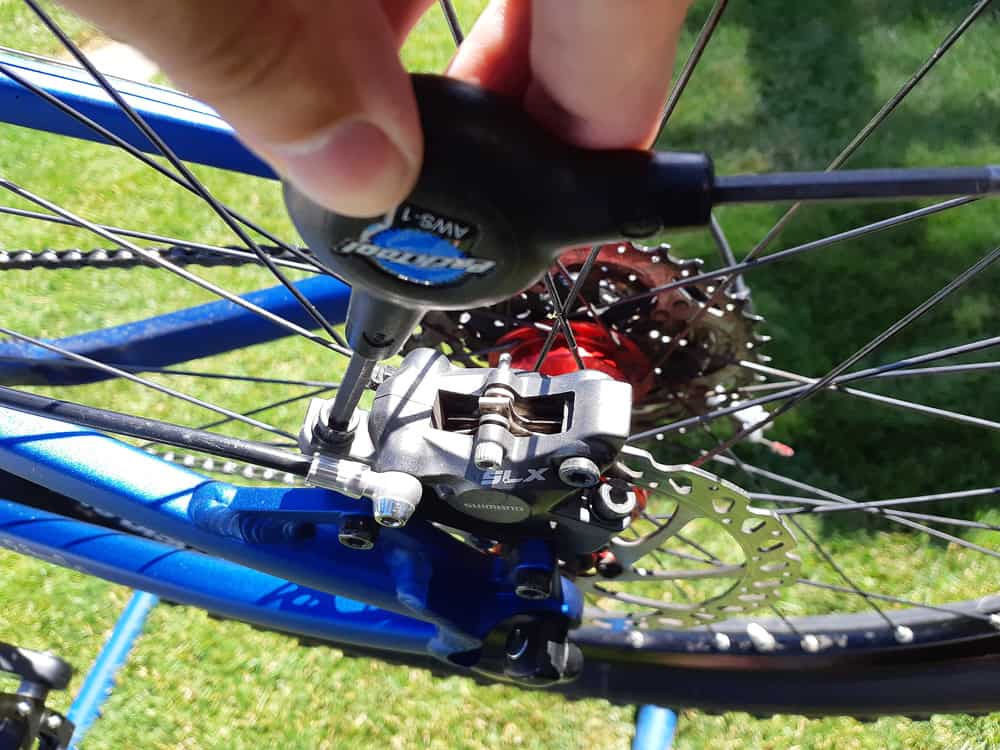
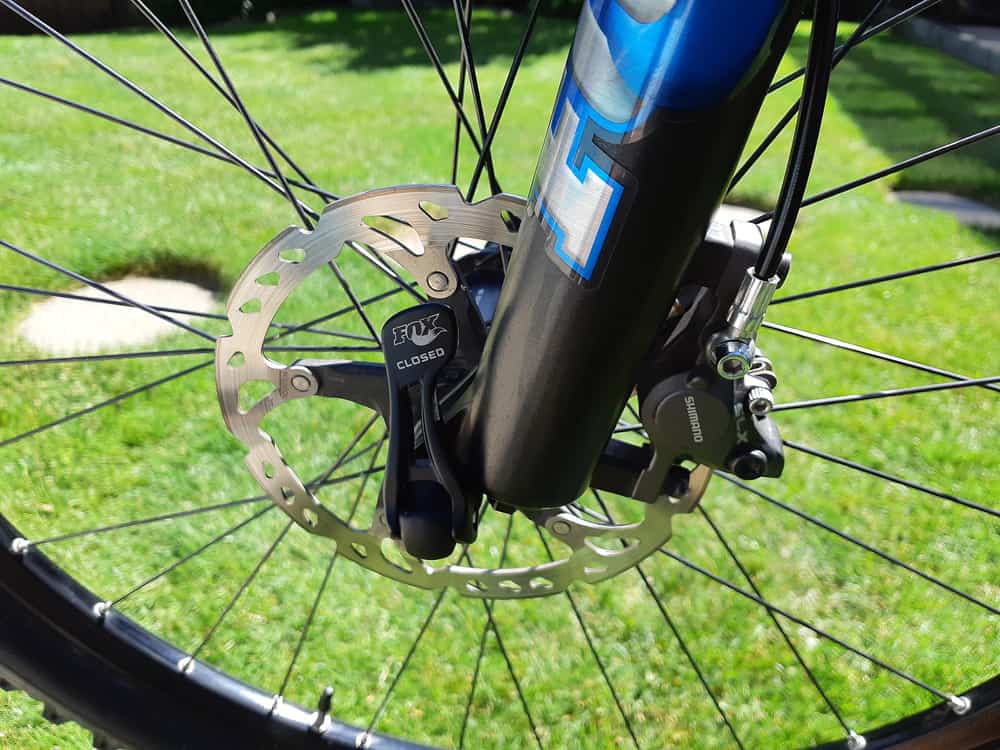
Check the bearings in the front wheel by grabbing the tire and the fork, then wiggling it. If you can feel any slop or play you might have a loose bearing.
Look for any noticeable grease that might have worked its way past the seals. Any grease that’s on the outside of the bearing is likely supposed to be inside it. Give the wheel a spin and listen for any grinding noises that might indicate a dry bearing.
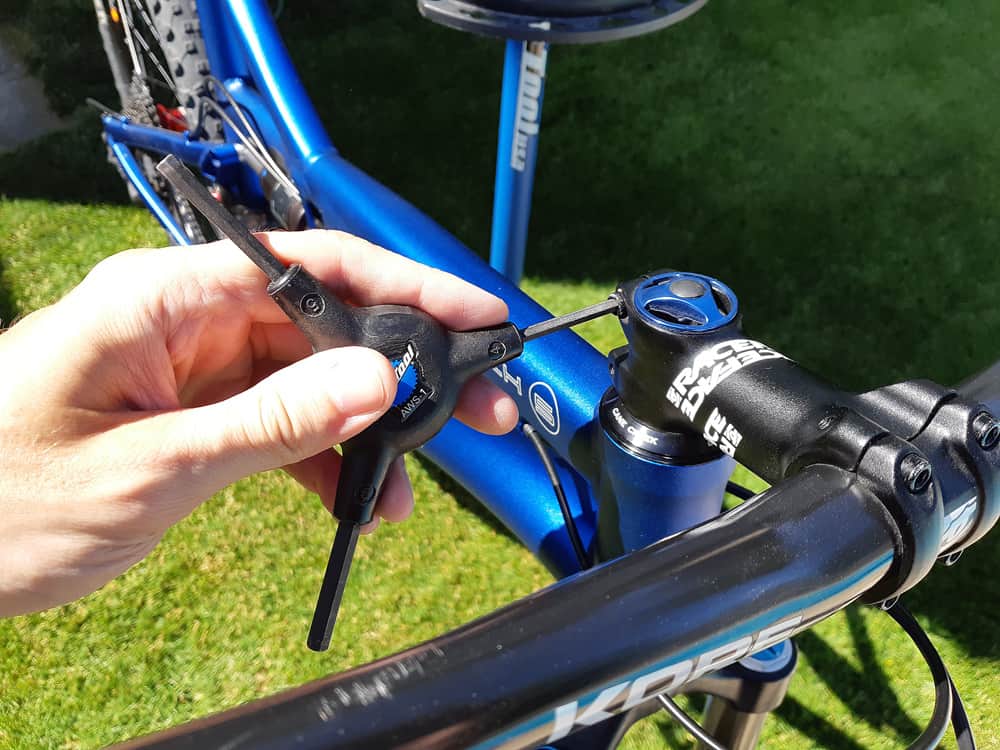
Next, move up to the headset. Once again, do a visual inspection then grab the tire and handlebar and feel for any play. A loose headset will tend to make more of a clunking sound and you should be able to feel it too.
On to the bottom bracket. Grab each crank arm and wiggle them back and forth against each other. This should reveal a similar clunk as a loose headset if there’s an issue. Slightly loose bottom brackets might also make a creaking sound while riding so pay attention to that. Check to make sure the crank spins smoothly, then continue on to the rear suspension if your bike has it.
Some rear suspension designs are more complicated than others. Examine every pivot point for grease that might have leaked out. You can also grab the rear tire and wiggle it side to side to feel for any play. Keep in mind that any slop felt by doing this could also be in the rear wheel.
Speaking of the rear wheel, inspect it the same way you did the front and you’ll be all done this step.
Tune the brakes
Now that we’re getting to the actual adjustments, I want to make one thing clear: if something is working fine, don’t touch it! Brakes and gears can be finicky to tune and if they’re already working properly, they can only get worse by you tinkering with them. The goal here is not to create new problems for ourselves. Fight the urge to spin knobs just for the sake of doing it.
The first thing to check on your brakes is the pad life. Brake pads wear out eventually and will need to be replaced. Make sure there’s plenty of meat left on them and if there isn’t, replace them.
The next task is to see whether or not they’re dragging. Spin each wheel and check if the brake pads are rubbing enough to stop it from spinning. A little drag isn’t too bad but if the wheel won’t stay spinning, you’ve got a problem.
Adjusting the brakes will vary depending on what type of brakes you have (rim brakes or disc brakes). Most hydraulic disc brakes are self-adjusting and won’t need much attention. Cable disc and rim brakes are different and will need to have the cable tension adjusted.
In general, if the wheel doesn’t continue spinning, the cable tension is too tight. If the lever can be pulled all the way back to the handlebar, the tension is too loose. Finding a happy medium is a matter of personal preference in terms of how touchy you want your brakes to feel.
For rim brakes, you’ll want to take note of how the pads contact the rim. Is it even and consistent or is only part of the pad touching it? This can be adjusted by loosening the bolt on the back of the brake pad and positioning it where you think it should be.
The last thing to check for rim brakes is that each arm is doing its fair share of the work. It’s very common for one brake arm to do most of the movement while the other basically sits up against the rim. You can adjust this by playing with the Philips head set screw found where the brake arm mounts to the frame/fork.
This is a matter of trial and error and might take some time – always work on the side that’s problematic first and go from there.
Tune the gears
Tuning your gears can be fun or frustrating, depending on whether you know what you’re doing or not. Just like your brakes, don’t touch them if they’re working fine. You can only make it worse at that point.
If your bike was assembled properly, the set screws that control the stopping points shouldn’t need to ever be adjusted. Tuning your gears in that case is simply a matter of cable tension.
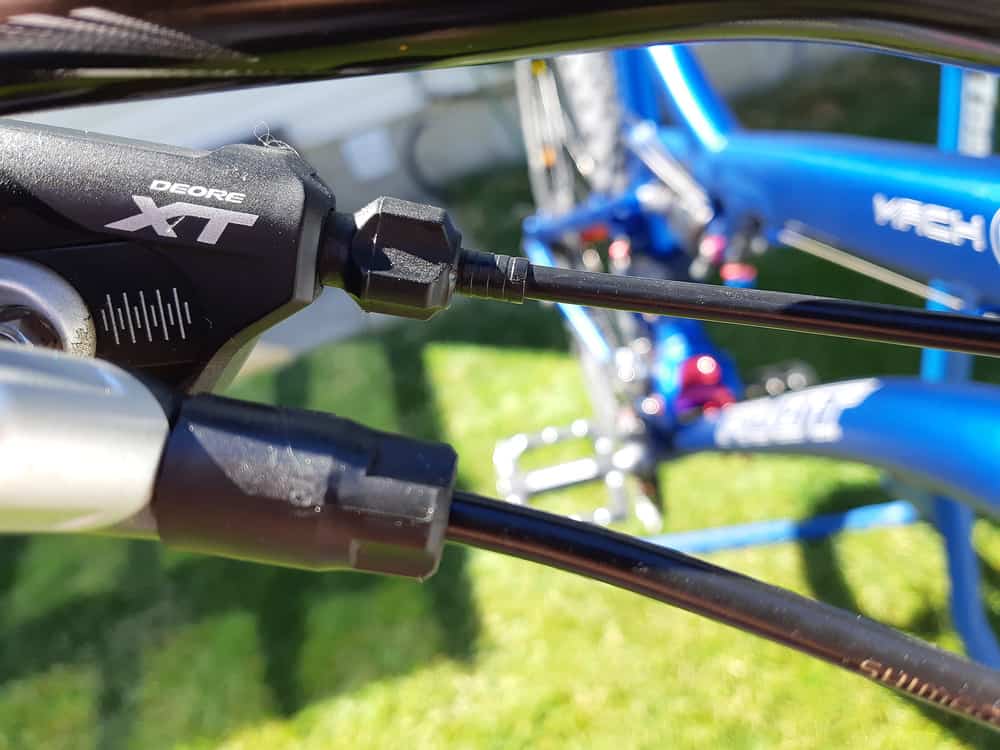
Shift your front derailleur into the smallest gear. Now shift it up to the middle and then the big ring. If it’s grinding rather than moving the chain up onto the gear, you need to increase the cable tension.
Make this adjustment at the knob on the gear shifter if you’re able to. If that adjustment is maxed out, you’ll need to loosen the bolt holding the cable on the derailleur and readjust the cable tension that way.
Now do the same thing in the opposite direction. If the chain fails to drop down to the lower ring when you click the shifter, you need to lower the cable tension. I like to put a bit more effort into this adjustment because this is the one you need when downshifting at the last second for a surprise uphill.
Keep testing this by shifting up and down, then making your adjustments. It might take a while to get it right. The sweet spot in cable tension will be when the chain can be shifted either up or down easily without too much grinding.
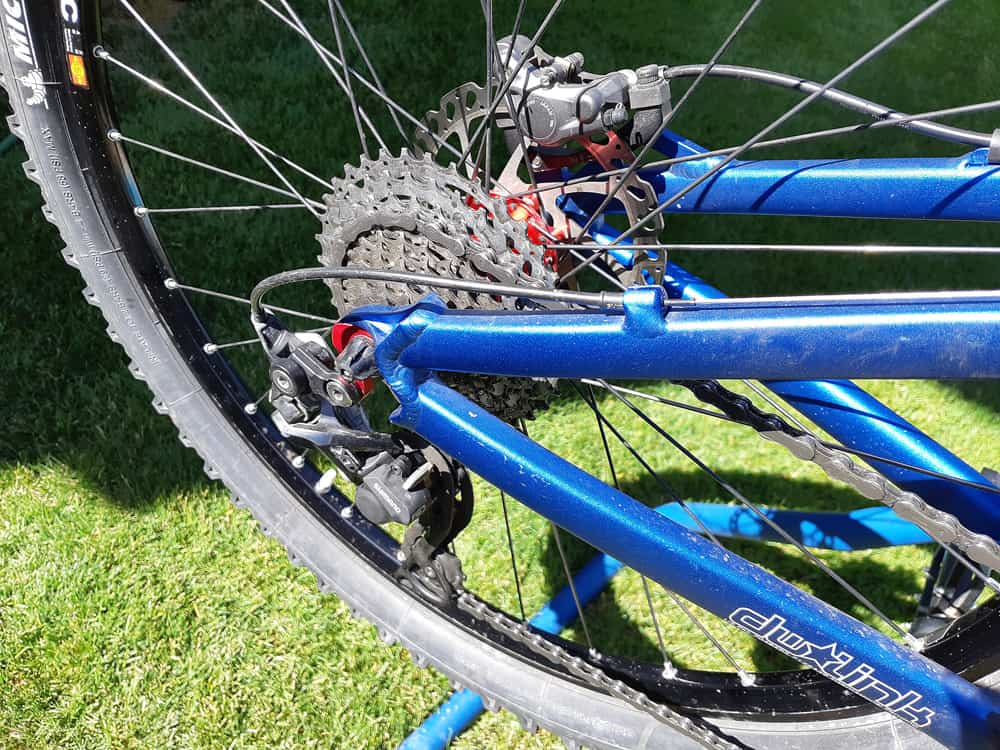
Adjusting your rear derailleur is the same concept, just with more gears. Make small adjustments at first – there’s no need to make drastic changes. The reason your gears might be out of tune in the first place is because cables stretch over time. That’s a very gradual thing though, so it shouldn’t take a whole lot of fiddling to make up for the stretch in the cable.
If you find that you’re having to make bigger adjustments. Stop and reassess. This can indicate a bent derailleur hanger and if that’s the case, no amount of tuning is going to remedy your shifting problem.
You can either take the bike to a shop to have the hanger straightened, buy a straightening tool, or make your best guess with your eyeball. Either way, you won’t be able to tune your gears if your hanger is bent.
The final check to see if your gears are tuned properly is to run through every possible gearing combination. Start with the low ring up front and shift through every gear in the rear. Now move up to the middle one then the big one and do the same.
This might reveal that more adjustment is required. Be patient, you’ll get it figured out eventually. If you’re getting frustrated, take a step back and work on something else for a bit. Sometimes a fresh eye can be helpful in getting it right.
Check the wheels
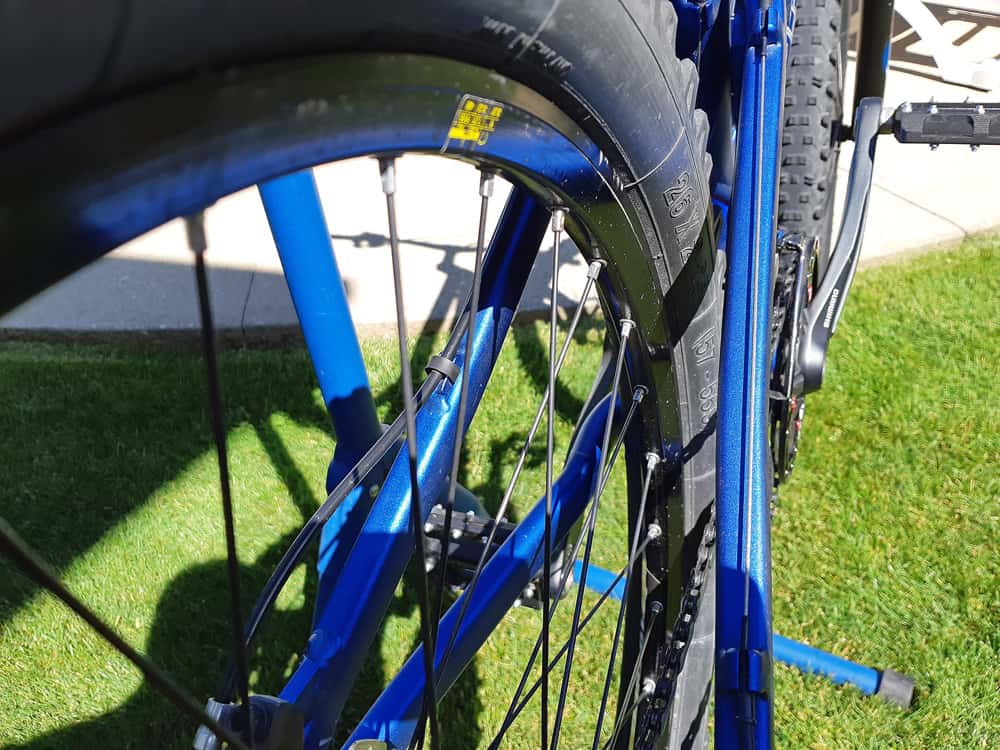
You’ve already inspected the tires for any wear but you’ll also want to look for any cracks or bulges. Both can easily cause a flat tire when you’re out on the trail.
Now grab each spoke (a pair at a time) and squeeze them. You’ll probably be able to feel and hear a click but the spoke shouldn’t wiggle. If it does, you’ll need to tighten it up with a spoke wrench.
Finally, spin the wheel and watch how it moves in relation to the frame or brake pads. If it’s wobbling back and forth, you’ll need to true the wheel. That involves tightening and loosening certain spokes in order to straighten it.
For bikes with disc brakes, a little wobble isn’t the end of the world as long as the tire isn’t coming into contact with the frame. For bikes with rim brakes, a bent wheel can affect braking performance.
Check the torque of all bolts
Don’t worry, this doesn’t necessarily mean you have to put a torque wrench on every bolt on your bike. Going by feel is fine as long as it was assembled properly in the first place.
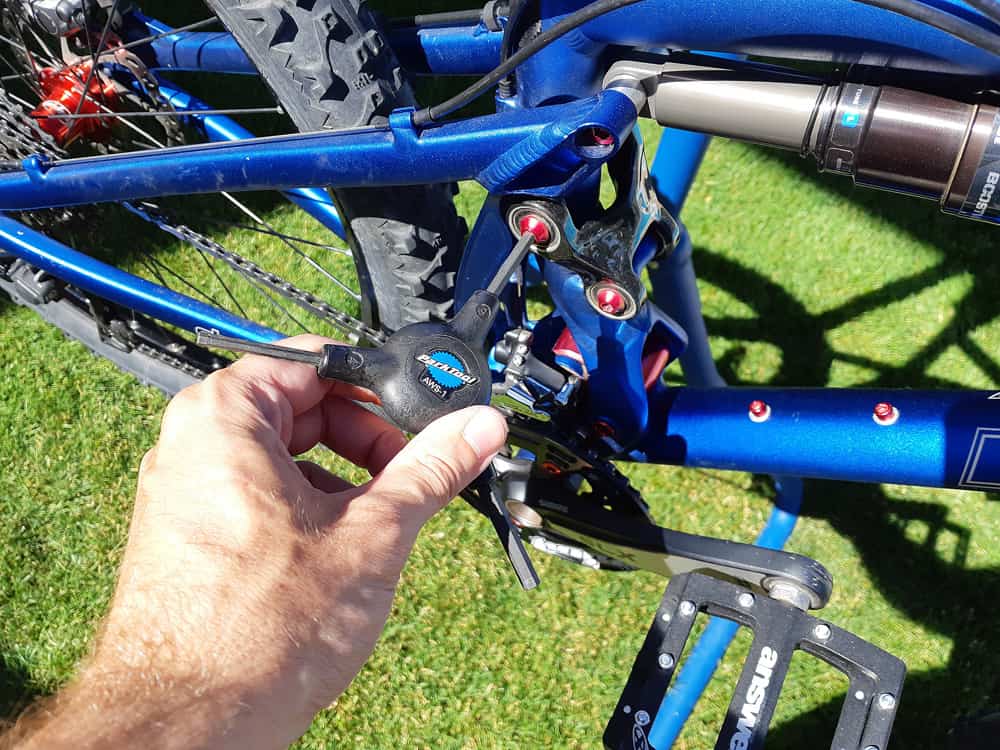
Grab a set of Allen keys and once again, start at the front of the bike and work your way back. Check every bolt that you see and make sure it feels tight. This is a quick and easy step that can save you from having a really bad day on the trail.
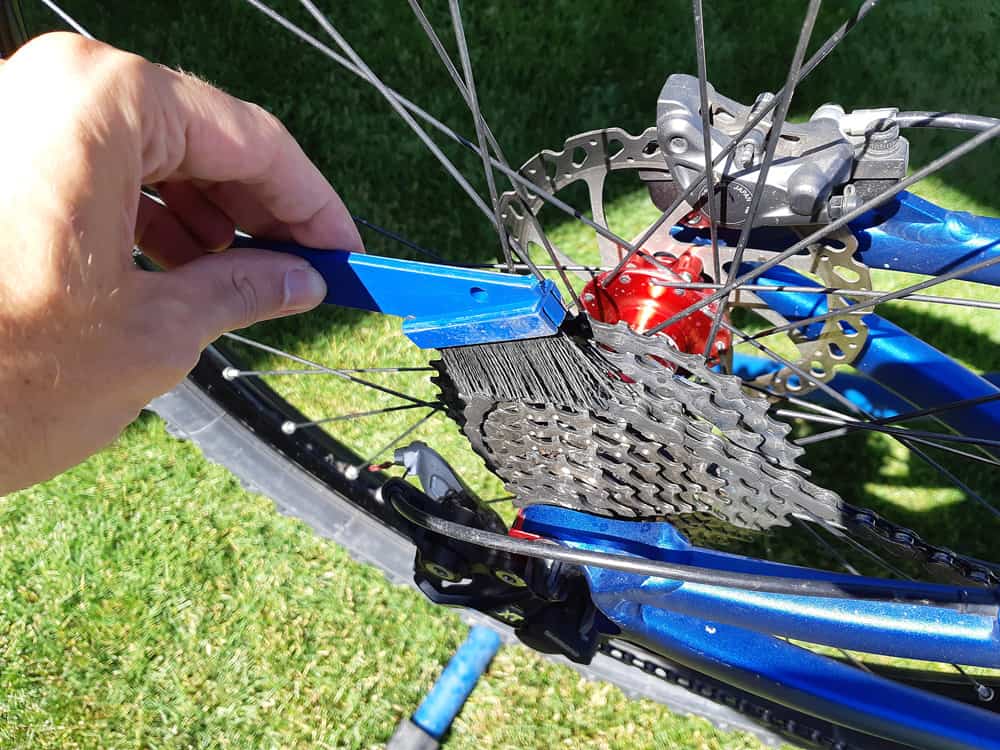
Lube the necessary components
It’s time for the finishing touches. Clean and lube your chain as well as the pulleys and spring on your derailleur. If you really want to take things to the next level, a coat of wax on your frame and fork will give it some extra shine and protection. It’ll also make it easier to blow the water off the next time you whip out the leaf blower.
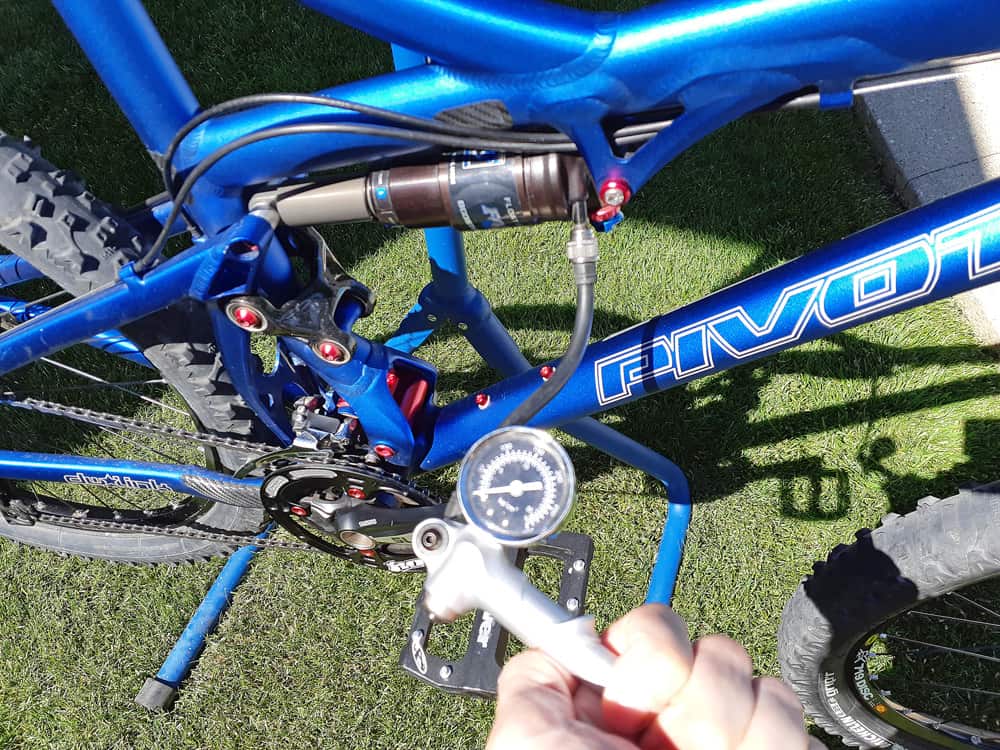
This is also a good time to double check your suspension settings and adjust any air pressure or spring preload. Check your tire pressure as well.
Final test ride
After all that work, it’s time to go for a quick test ride. Listen for any noises that are remaining. You might want to spend some time trying the tips in this article. Try out your brakes and make sure they grab properly and aren’t squealing.
Shift through every gear combination just like you did when the bike was on the stand. Cable tension is one of those things that can change with the weight of a rider so you might need to go back and make further adjustments.
Lean the bike from side to side, pedal hard, jump up and down and slam on the brakes. If everything is working as it should, you’re ready for your next ride on your freshly tuned bike!
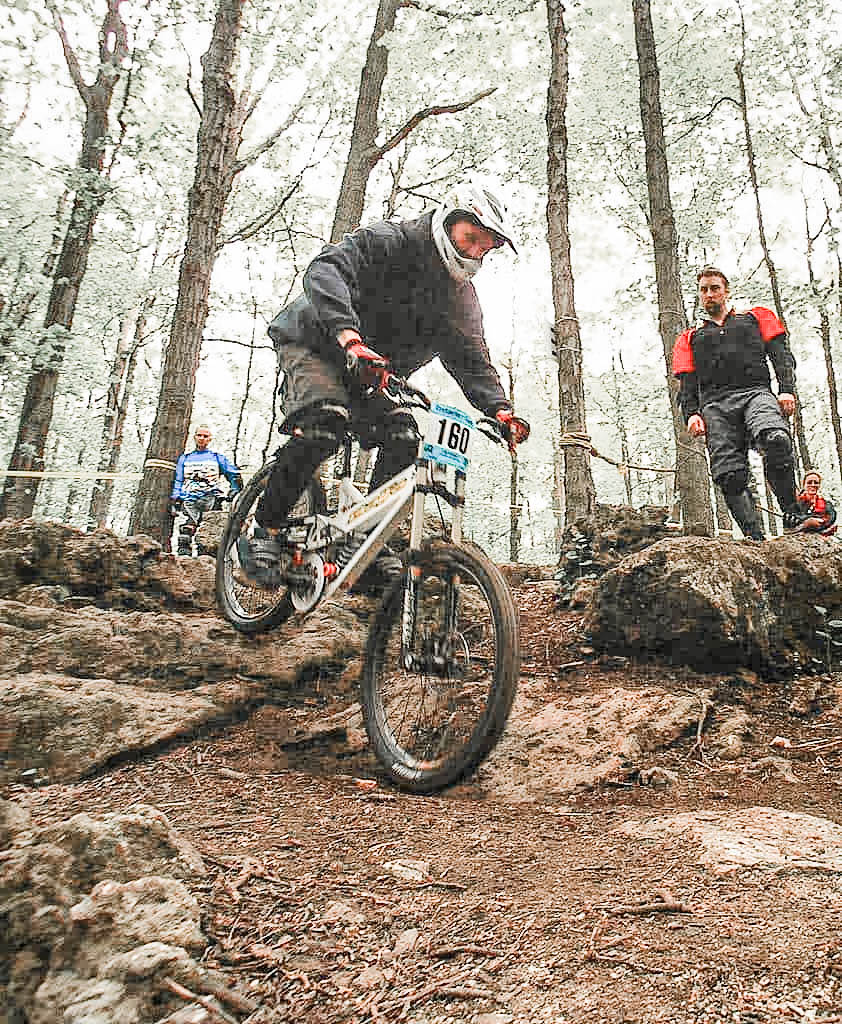
Tim is the founder of SimpleMTB and has been mountain biking for decades. He raced in the Ontario Cup series during his teenage years and riding continues to be one of his favorite hobbies now as an adult.