One thing I’ve always been particular about is the sound my bike makes as I fly down a trail. Sure, going out and buying a brand new bike with all the latest gizmos is an easy way to silence your next ride. But for those on a budget, here are 13 cheap ways to make your mountain bike quieter.
I learned early on that a quiet bike feels smoother and faster, even if neither is actually true. The good news is that you don’t have to spend a ton of money to silence your bike. We can categorize these fixes by the common sounds a bike makes:
Chain rattle (the most common)
A rattling chain is something you’ll hear on a lot of bikes and it can be really annoying. There are a few reasons why your chain might be rattling.
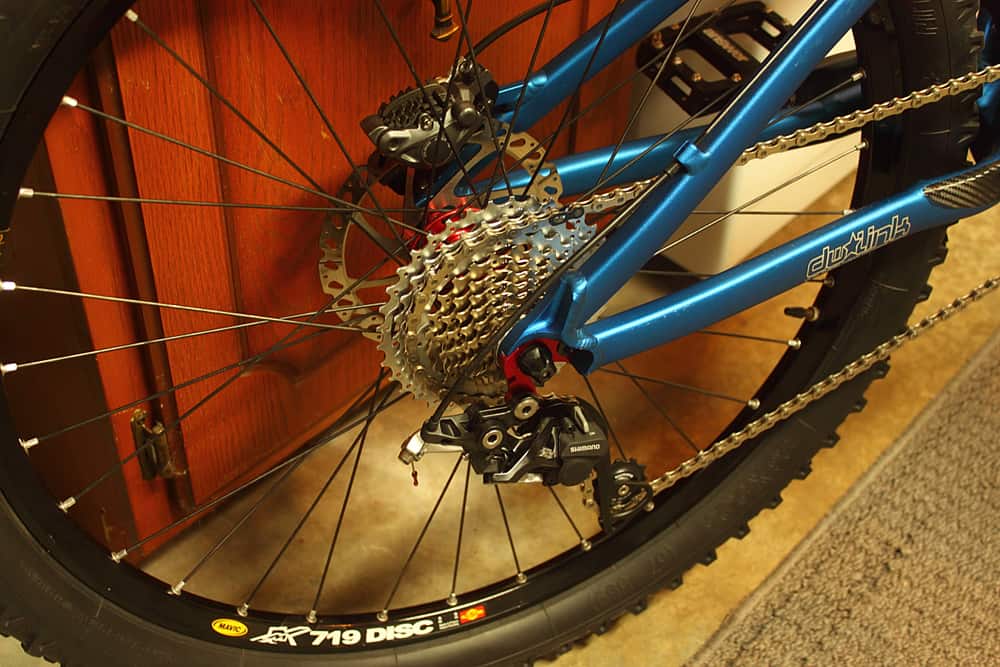
Make sure your chain is the right length
On a hardtail bike, this is really easy to check. Simply shift into the largest chainring on the front and the largest gear on your cassette. The rear derailleur should have a slight bend in it. If it’s so stretched that the pulleys are in a straight line, your chain is too tight.
Now shift to the smallest gears front and back and take a look at how loose your chain is. It shouldn’t be hanging freely at the bottom and there should still be a slight bit of tension at the rear derailleur.
If your bike has rear suspension, you’ll need to do this test with the suspension cycled at both the full droop and bottomed out position. Depending on how your rear wheel travels as the suspension cycles, the chain can get tighter or looser as it compresses.
A chain that’s too loose is always going to make a racket. You’ll be fighting a losing battle by trying any other fix. So rule out improper chain length before you move on to other solutions.
Use foam tape on derailleur impact points
There’s a chance that the body of your rear derailleur may come in contact with your frame when you hit a bump. This is more likely when you’re in higher gears and the derailleur has some slack in it.
Sometimes this will be caused by an improperly tuned derailleur. But if it’s set up correctly and still impacting the frame, a small piece of foam tape on the frame can work wonders. This will cushion the impact and get rid of that tapping noise.
You can also use a small piece of foam tape on your front derailleur if you have one. I’ve had times where no matter how I adjust the front derailleur, the chain still rattles against the upper inside of the cage. A tiny piece of foam placed here can help eliminate that noise as well without affecting your shifting.
If you ride in a lot of wet weather, you might want to consider wrapping a zip tie around the foam tape in both locations so you aren’t relying solely on the adhesive to hold it in place.
Protect the chainstay of your frame
90% of chain rattling comes from the chain itself hitting the frame. Many newer bikes take this into account and are sold with rubber protection in these areas but if yours isn’t, you’ll need to add your own.
I’ve been using these chainstay protectors from Lizard Skins since the late 90s. They’re easy to install, cost around $10, and will protect your frame from being chipped by the chain.
There are a few DIY options for protecting your chainstay as well. Some people will cut out a strip of a rubber tire tube and zip tie it on while others will wrap the chainstay with tape. These solutions might get the job done but they don’t look as nice, don’t last as long, and you can’t easily remove and clean them.
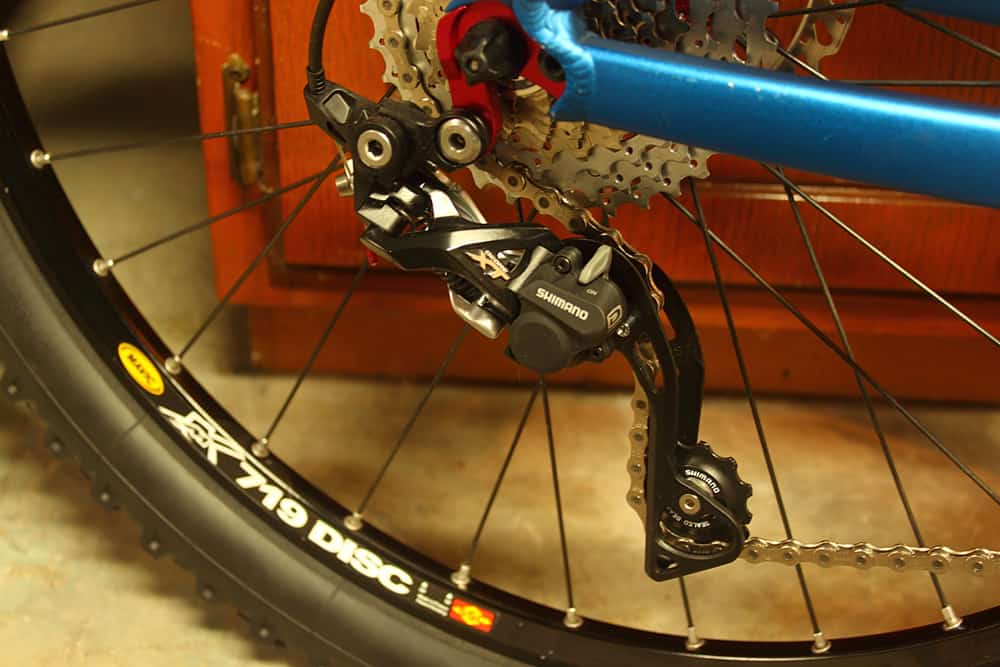
Upgrade to a clutch derailleur
I saved this one for last because it’s the most expensive solution. I’m still including it though because it works so well. I never paid much attention to these derailleurs until I bought one. Now I don’t know how I lived without it.
A clutch derailleur basically has a switch that allows you to release tension in it to be able to remove the rear wheel. But when you turn the tension back on, it keeps the chain much tighter than a regular derailleur.
This provides a big improvement in terms of chain rattle. The only real downside to these is the cost as they are typically more expensive than a regular derailleur.
Chain grinding
A grinding noise from your chain will be caused by something different than a rattle. This is more of a maintenance issue.
Clean your cassette and chainrings
The first thing to do is to make sure your gears are clean and free of any built-up gunk. If you do nothing more than add lube to your chain over time, eventually it’ll have a bunch of grease caked on it. This can rub on the chain, derailleurs, and pulleys resulting in an annoying grinding noise. Sometimes all it takes is a quick clean up to get rid of it.
Make sure everything is lubricated
A dry chain or derailleur pulley can certainly cause a grinding noise. Lubricating or greasing these not only keeps them quiet but will slow down their wear, making them last longer.
Make sure your gears are tuned perfectly
Incorrect tuning can often be the cause of chain grinding noises. A derailleur makes the chain shift to another gear by pushing against it. If your derailleur is pushing slightly against the chain when you aren’t trying to shift gears, it’ll make a lot of noise.
Tuning your own gears isn’t difficult but it does require practice to get right. I’ve seen some bikes make noise when the tuning is just barely off. If you’re sure that this is what’s causing your grinding noise, keep making fine adjustments until the noise goes away.
Cable noises
Believe it or not, your mountain bike’s cables can make creaking or slapping noises too. Some of this can’t be helped as it’s just a part of the bike’s design. But with a little thought, you might be able to improve it.
Make sure the cables are the correct length
The first thing you want to check is that your cables are the right length in the first place. If they’re too loose, they’ll slap against your frame. If they’re too tight, they can cause binding in your steering or even break.
All you need to do to check this is turn your handlebars the furthest you would turn while riding in both directions. Sometimes it’s easier to turn them a full 180 degrees to be certain.
When fully turned, the cables should be wrapped tightly around the frame – but not too tight. If you can still wiggle them, you should be good. If you can feel a lot of tension on them, they’re too tight.
Consider changing the cable routing
Most manufacturers will sell the bike with the cables routed the most efficient way possible, but some don’t. Study where your cables are positioned and how they move. If they’re binding against each other or hitting another part of the bike, check to see if there’s a better way to run them.
Back when I worked at a bike shop, I had to change this quite a few times even on brand new bikes.
Clunk noises
Any clunking coming from your bike is usually a sign of a problem. This shouldn’t go ignored as it might be the only warning you’re given before a total failure resulting in a crash.
Check for worn-out components
Worn out, loose, or broken components are often the cause of a clunking noise. If you still can’t find where the noise is coming from, bounce the bike on the ground a few times and listen closely. Sometimes this will give you a better idea of where the sound is coming from.
Common areas for clunks are the headset bearings, the bottom bracket, the wheel hubs, and the bushings in the suspension. Anything that is loose enough to make a clunk noise should be tightened or replaced for safety.
General creaking
Mountain bikes are built out of many different materials with lots of moving parts. In some cases, you’ll drive yourself nuts trying to chase down a small creaking noise and never be able to find it. Here are a few things to check:
The frame
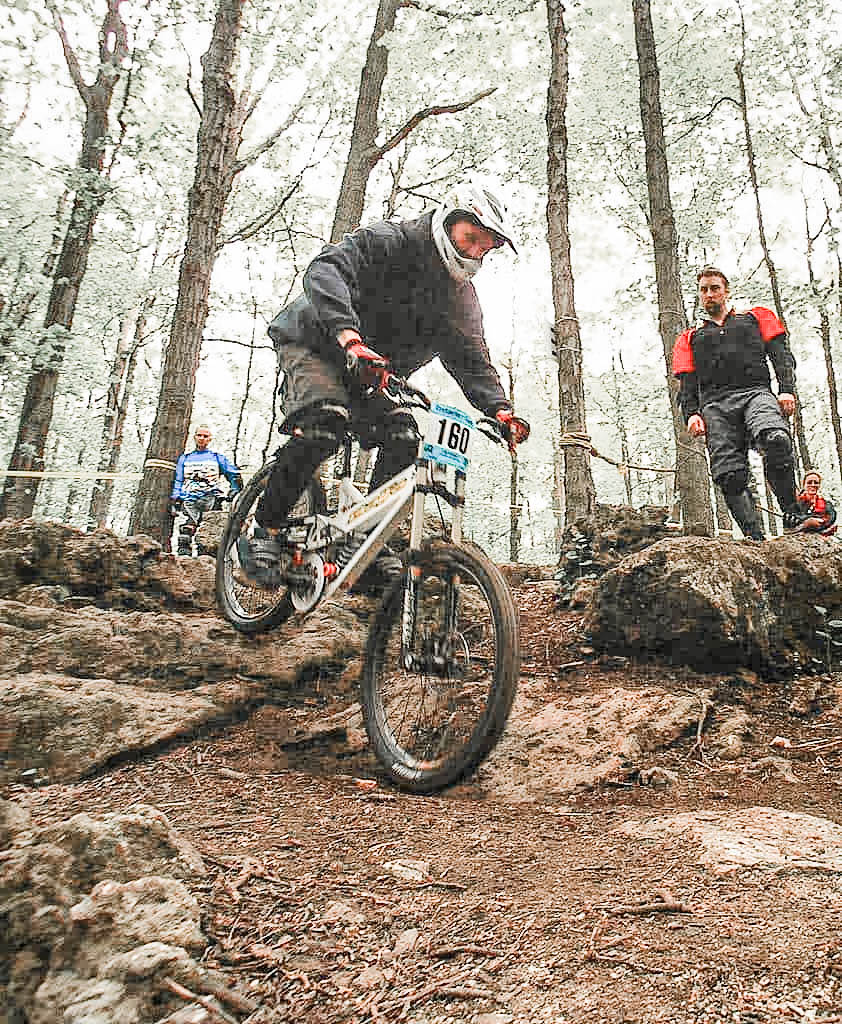
Some frames simply make creaking noises. I remember the old monocoque design downhill frames from the early 2000s – they made so much noise you could hear the rider coming long before you could see them. There was nothing wrong with them, they just made a ton of noise by design.
The seat post
A seat post that’s too loose or too tight can cause a creaking noise whenever you pedal. Ideally, you want it to be tight enough so it doesn’t slide down when you sit on it, but loose enough that in the event of a crash, it’ll twist rather than your seat breaking off.
Any dirt or dust buildup on the post, the frame, or the clamp can be the source of a creak as well. So clean it up, grease it slightly, and tighten it so that’s it’s difficult to turn it, but possible with enough force.
The stem
The connection between your stem and handlebars can cause creaking just like your seat post. Make sure this is clean and torqued down properly as well.
Hopefully, these tips have helped you chase down some ways to make your mountain bike quieter. Chances are, one or more of them will be the cause of your problem. There are a lot of moving parts on a bike and realistically, any one of them can be the source of a noise. It might be frustrating but if you keep working your way throughout the bike, you will find it eventually.
Tim is the founder of SimpleMTB and has been mountain biking for decades. He raced in the Ontario Cup series during his teenage years and riding continues to be one of his favorite hobbies now as an adult.